
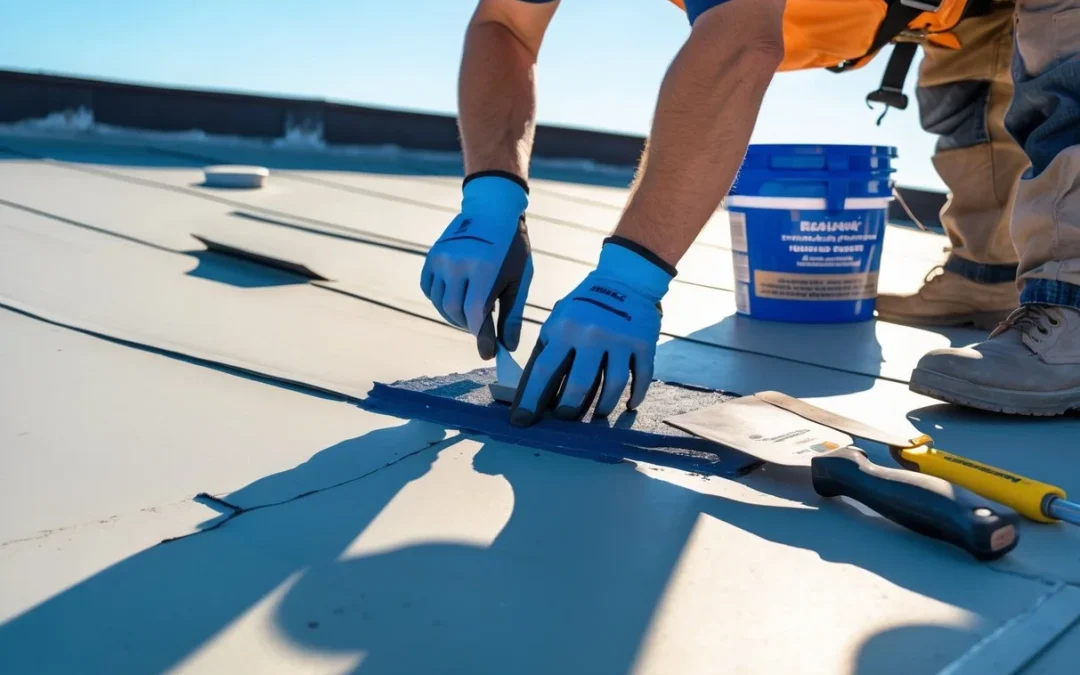
(For Illustrative Purposes Only)
If you catch leaks early, you can prevent small problems from turning into expensive repairs. Quick fixes such as patch tape, bitumen paint, or EPDM patches are effective for most minor tears, holes, and joint issues when applied properly.
You’ll need to spot leaks, determine the extent of the damage, and choose a repair method that fits your roof type and budget. The steps below cover common fixes for felt, asphalt, rubber (EPDM), and fibreglass roofs, plus advice on when it’s time to call in a pro.
This guide breaks down steps and safety tips so you can tackle flat roof repairs yourself and recognise when you shouldn’t go it alone.
Identifying Flat Roof Leaks and Assessing Damage
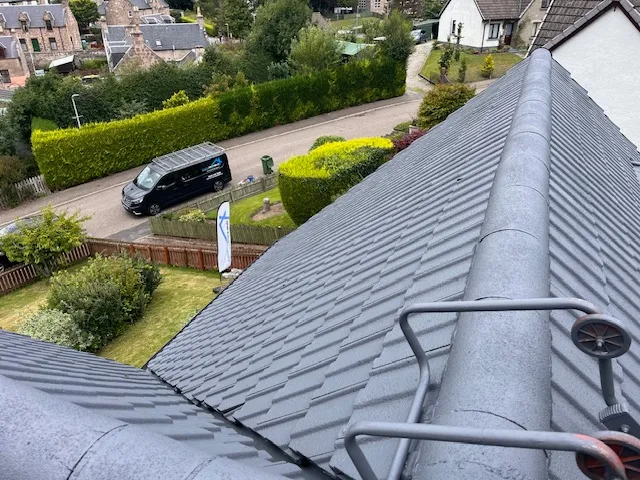
Look for water stains, soft spots, and blocked drains, then trace where water moves across and under the roof membrane. Inspect visible roof details and test likely entry points to find the exact source of the leak.
Common Signs of Flat Roof Leaks

Water stains on ceilings or along walls beneath the roof usually stand out first. They often look like brown rings or streaks and might spread after rainfall.
Peeling paint, damp plaster, or mould in the loft or top-floor rooms can also mean you’ve got a persistent leak. On the roof itself, keep an eye out for standing water, blisters, or membrane cracks.
EPDM roofs sometimes split at seams or around details. If the deck feels soft or spongy underfoot, that’s a red flag for saturated insulation or decking; deal with that right away.
Inspect flashings, joints, and roof penetrations, too. Loose or rusty flashings, failed sealant around vents, or damaged upstands often let water in. Clear away debris and gutter blockages first, since standing water hides or causes other problems.
Diagnosing Leak Sources
Start inside: after a dry spell, mark any wet spots on the ceiling. Then, have someone run a hose over likely roof areas while you watch inside to see where water comes through.
Up on the roof, check seams, terminations, and penetrations closely. For EPDM, look at adhesive laps and taped seams. Use a flashlight to spot pinholes, cuts, or punctures.
Push gently on suspicious areas to see if there’s delamination or trapped water. Check drainage points and outlets for clogs, and look at scuppers for rust or gaps.
Trace water flow from ponding areas, since leaks usually show up downhill from standing water. Record each defect and take photos so you can plan repairs or show a contractor later.
Step-by-Step Flat Roof Repair Techniques

(For Illustrative Purposes Only)
Here are practical steps for setting up, fixing small holes, patching bigger damage, and working with different roofing materials. You’ll see which tools and products to use, what safety checks to run, and how to test if the repair holds.
Preparation and Safety Measures

Start by checking the roof from the ground. Look for standing water, loose flashing, or obvious membrane damage.
Take measurements and photos to plan what materials you’ll need and estimate costs. Gather your tools: a broom, utility knife, roller, trowel, brush, heat gun or torch (if you’re working with torch-on felt), ladder, gloves, and eye protection.
You’ll also need roofing cement, bitumen primer, fibreglass mesh, an EPDM patch kit, EPDM primer, and the right membrane strips. Make sure the weather’s dry and above the minimum temperature the manufacturer recommends.
Use knee pads and a harness if the roof’s got an edge risk. Clear debris, dry the area, and sweep away algae or grit. If it’s safe, you can use a hose on small sections to pinpoint leaks.
Repairing Small Cracks and Punctures
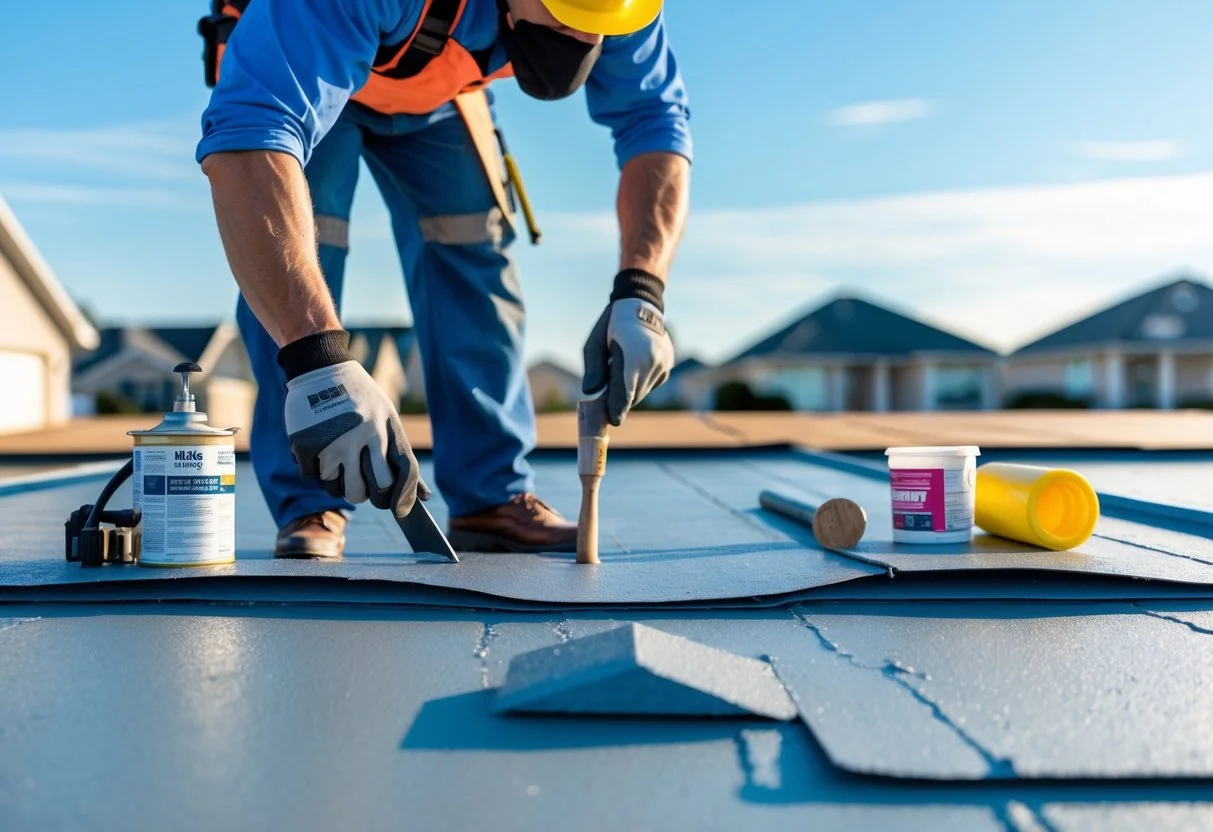
(For Illustrative Purposes Only)
Clean the damaged area down to solid material. Use a stiff brush and solvent if needed, then let it dry completely.
Cut away any loose bits and square up rough edges for a tidy patch base. For punctures under 50 mm, put roofing cement or bitumen primer on the spot, then press a small EPDM patch or membrane piece over it. Smooth out air bubbles with a roller.
Seal the edge with a thin bead of roofing cement or solvent-based adhesive. For hairline cracks, widen them slightly to form a V-groove, fill with roofing cement, and cover with fibreglass mesh.
Add a finishing layer of cement, feathering the edges at least 75 mm beyond the crack. Let it cure as the product instructions say before testing with water.
Patching Large Damaged Areas
Cut out the deteriorated membrane back to solid material. Clean the area thoroughly.
If the substrate is wet or soft, replace the felt or deck section first. Use a layered patch: start with bitumen primer, then lay reinforcing fabric or fibreglass mesh, embedding it in roofing cement and pressing with a roller.
Add a membrane patch that overlaps by at least 100 mm on all sides. For torch-on felt, heat-bond the new sheet, following safety rules and overlap recommendations.
Seal all seams with a continuous bead of bitumen or compatible sealant. Reinforce corners and flashing with extra mesh and cement. Let the repair cure fully; bigger patches usually need a day or two before you test with water or expect rain.
Material-Specific Flat Roof Repairs

(For Illustrative Purposes Only)
Match your repair method to the material. For EPDM rubber, use EPDM primer and adhesive. Clean with the maker’s cleaner, prime, then lay the patch and roll it down firmly.
EPDM patches resist splitting and don’t need heat. For torch-on felt, heat the back of the sheet with a propane torch until the bitumen flows, then roll and press it into place. Keep the flame moving to avoid burning the material.
For built-up or asphalt roofs, go with bitumen-based compounds and reinforcing mesh. Apply roofing cement in thin, even layers. Fibreglass mesh helps prevent cracks from temperature swings.
Always use the primers and adhesives the manufacturer recommends. The material you choose affects cost, drying time, and how long the repair will last.
Frequently Asked Questions
What steps are involved in patching a flat roof?
Clear loose debris and dry the area thoroughly before starting any repair. Cut away softened or blistered roofing to get down to solid material.
Sand or roughen smooth spots so adhesives stick better. Apply primer if needed, then place the patch and press it down firmly.
Seal edges with compatible adhesive or sealant and check for gaps. Let the repair cure before exposing it to rain.
Check the patch after the next rainfall to make sure the leak’s really gone.
Can a DIY enthusiast safely undertake flat roof repairs?
You can handle small, simple jobs like patching tiny punctures or resealing trims. Working at height is risky, so use a stable ladder, non-slip shoes, and a safety harness if possible.
If you see ponding water, big cracks, soft decking, or damaged flashing, don’t try to fix it yourself. Those problems need a professional to avoid making things worse.
What materials are required to fix a leak in a flat roof?
You’ll need roofing adhesive or bitumen, a suitable sealant, and a patch material that matches your roof (EPDM, felt, or GRP matting). You might also want a primer, sandpaper, a roller or flat tool for pressing patches, and a brush or scraper for cleaning.
For bigger repairs, use reinforcing fabric or matting plus resin for GRP systems. Always pick products that match your roof membrane for the best results.
How do you identify the source of a leak on a flat roof?
Start with an outside inspection after dry weather to spot cracks, splits, loose trims, or bad flashing. Look for ponding or dips where water collects; leaks often start there.
Check inside for water stains and trace them up to the roof. Remember, water can travel sideways before it drips through.
Use a hose to run water over small roof sections while someone watches inside to pinpoint the entry spot.
What are the recommended methods to ensure long-lasting flat roof repairs?
Match your repair materials to the existing roof membrane. Always prepare the surface carefully before you start.
If you spot rotten or soft deck boards, take them out and swap in new ones before you apply any new membrane or patches.
Improve drainage by adjusting falls or clearing outlets to keep standing water at bay.
Set up regular inspections, clean gutters and outlets, and tackle small faults as soon as you notice them to avoid bigger headaches later.